Administrator guide
Preparing to vote
Organizations
We will create a dedicated workspace for an organization on whose behalf you plan to vote on WE.Vote . There, you will be able to manage your colleagues’ accounts, configure participant groups, and run votes.
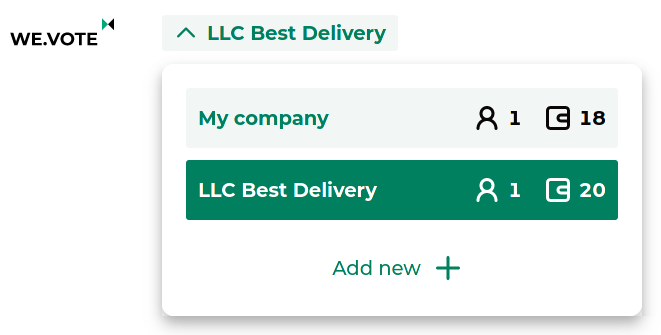
If you’re organizing votes in multiple companies at the same time, you can add a new organization to the service. We will also create a fully isolated space for it with its own users, votes and balance.
To use the WE.Vote service, replenish your ballot balance. Ballots are spent during voting. For example, to start voting for 10 participants, your balance must be at least 10 ballots. When you start voting, the required amount of ballots is frozen in your balance. It will be spent if the voting ends without any glitches from the service. Every new user has the opportunity to try out the functionality of the service. For this, we charge 20 free ballots.
To refill your balance, click on the Add balance link in the Balance menu section. In the opened window, select the appropriate rate and payment method. Each package of ballots has a validity period after purchase. The ballots you launch must fit completely within the validity period of the purchased package. In addition to fixed packages, you can negotiate individual terms of service for your organization. To do this, check the Enterprise box: when you click on the Send request button, you will be redirected to the Waves Enterprise feedback form.
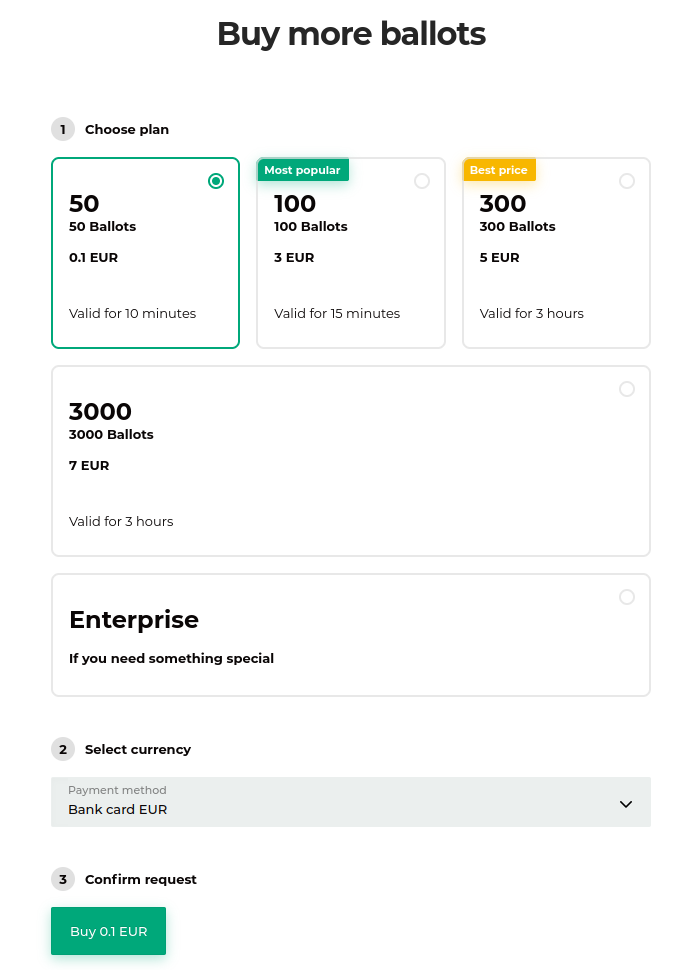
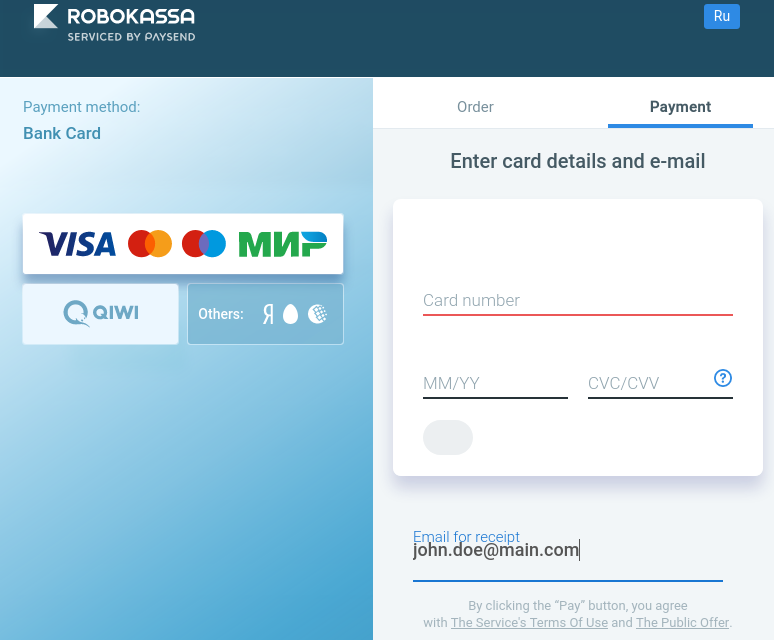
Only Administrators of the organization can refill the balance. After selecting the tariff and available payment method, you will be redirected to the payment page, where you will need to select your preferred payment source on the left side of the window and enter the necessary data. Votes will be credited to your account after the payment is made. History of your payments and their status, as well as facts of writing off votes from the balance are available in the Balance / View entire history menu.
Invitation of participants
To invite your chosen voters, upload their e-mail to the system. We’ll send them invitations to sign up for WE.Vote. Your colleagues will need to create and confirm an account, choose a method of storing their secret key, and create a key.
As the voting Administrator, you can see which of the invited participants have successfully registered and can take part in the voting. If any of the participants have problems with registration, you can send them an invitation again by pressing the Invite again button on the Participants tab. You can also re-send invitations to participants when you create a vote by clicking the Resend invites button.
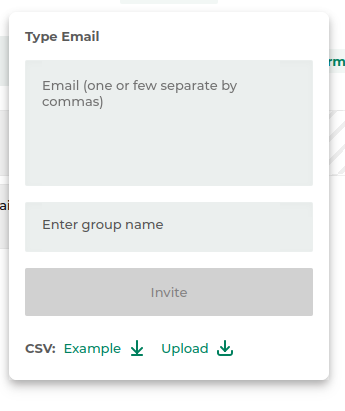
You can add users by specifying their e-mail addresses separated by commas in the Add User form. But a more convenient way is to upload a list of users as a Microsoft Excel spreadsheet or a CSV file. A template for creating the file is available in the Add User form.
After your member list is uploaded, you will see a message about the results of the upload. If there are incorrect entries in your list, you will see a warning message with a reason. If this is the case, correct the incorrect entries and upload again.
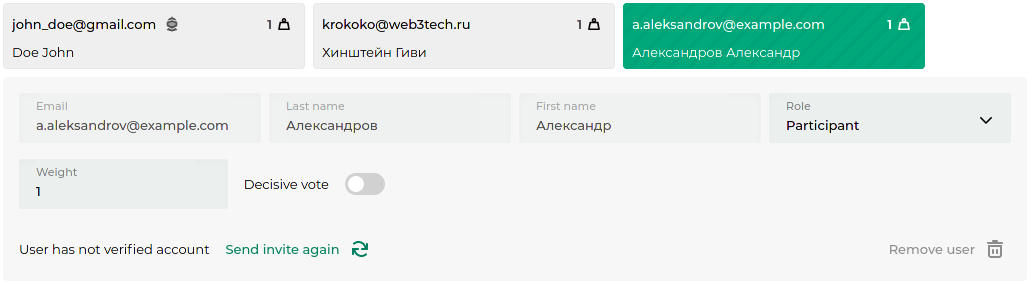
On the cards of the added users, you can assign additional Administrators to help organize the voting, or configure the parameters of the participants - the decisive vote right and vote weight. These parameters will be used in the corresponding types of voting.
If one of your colleagues didn’t notice the invitation and didn’t register on the service, it will be visible in the list of organization members: the card of an unconfirmed user is shaded. In this case you can send the user a second invitation.
Unverified participants
Not everyone who is invited will register immediately after the invitation. Someone may mistake the invitation for spam and not pay attention to it, so we recommend to inform your colleagues about the planned voting on WE.Vote. As long as the vote is in a draft status and not published on the blockchain, all invited users have time to register in the service. Their status will automatically change to Activated and they will be able to participate when the vote is published. However, those who don’t register before that point won’t be able to send their vote because their public keys won’t be registered in the voting service’s smart contract.
WE.Vote users who store their keys in the cloud storage cannot lose them. When storing on his own, the user may lose access to their key for one reason or another. In this case, even a registered user would have to use the passphrase reset function and would not be able to participate in already running or published votes. After updating the secret key, the user will be able to participate in future polls again, but the current active polls will not be available to him.
Permission management
If you plan to organize voting among a small number of people, it’s enough to invite participants to the service (see “Invitation of Participants” for details). However, when working with a large number of users, you can manage the voting process more efficiently by dividing them into groups. This will allow you to structure the list of participants depending on your needs: distribute participants by departments or divisions of the organization, their location, etc. Later on, you will be able to create different votes for different groups of users more quickly and manage the composition of the groups.
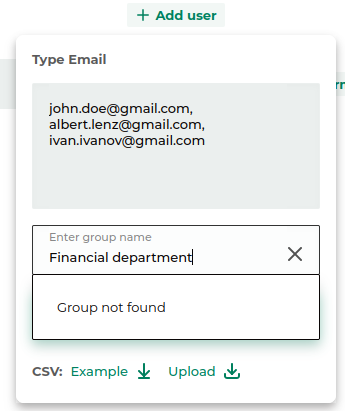
A group is created when you invite participants. Enter a comma-separated list of e-mail members for the group to be created, or upload a CSV/Excel file with the list of them, then type the group name in the appropriate field. To add members to an existing group, select the desired group from the drop-down list.
To add members to an existing group, select the desired group from the drop-down list.
When you create a poll, you can select the groups of participants for which it is intended.
Permission management
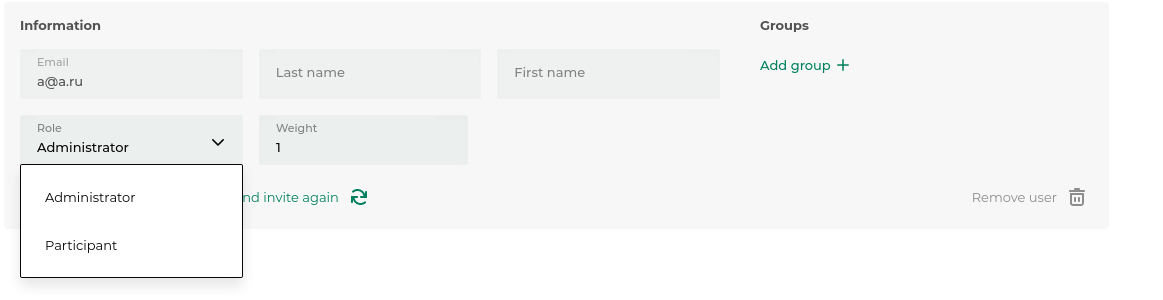
As an administrator, you can designate any participant from your organization to be an Administrator to help you organize voting. To do this, go to the Participants section, click on the participant’s card and select Administrator in the Role drop-down menu. Immediately after that, the participant will receive administrator rights.
To return an administrator to the participant’s role, click on his or her card and select Participant from the Role drop-down menu.
Voting creation
To create a poll, click the Create New button in the main client window. Please note that creating a vote is not supported when using the client on a device with a small screen diagonal. In this case, the button will be extinguished.
Basic settings
1. In the opened window, enter your preferred voting name.
2. Then set the start and end dates and time for voting.
Important
Note that the voting start time must be longer than the current time, since the service needs to create a smart contract for your ballot and then do distributed key generation to encrypt the ballots (Cryptographic algorithms).
3. Select the type of voting from the drop-down list:
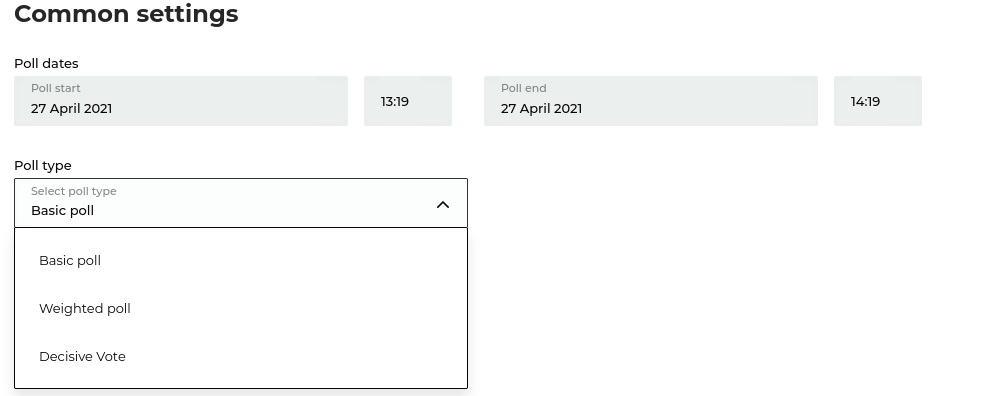
Common (majority) voting
Basic voting option. Each participant has one vote and may cast a vote for one of the proposed options for each of the issues on the voting agenda. The results are determined by counting the sum of the votes cast for each option; the one with the majority of votes wins.
Weighted voting
A voting option that is appropriate for decision-making in an organization where the strength of every vote is determined by the share of participation or ownership - for example, a limited liability company or an association of home owners. The strength of the vote (its weight) is set before a voting begins. The option for which the members with the highest combined weight voted wins.
Voting with a decisive vote
Voting with a decisive vote is necessary for decisions made by a small number of participants when there is a high chance of equal division of votes between the options, which leads to blocking the decision. In this case, one of the participants in the voting, such as the chairman of the company’s board of directors, obtains a decisive vote. This right is exercised only in the case of a tie - the option for which the chairman voted wins. In other cases, his vote has the same effect as that of the other board members.
Multiple choice
With this voting option, each participant can choose more than one answer for each question.
4. Set up the voting privacy. To do this, click on the Open Voting toggle switch if you plan to vote with information about the votes of all participants. In this case, participants’ votes are not encrypted, and at the end of voting WE.Vote provides a detailed report of each participant’s choice.
Note
Note that in this case results of your voting will be available to every participant.
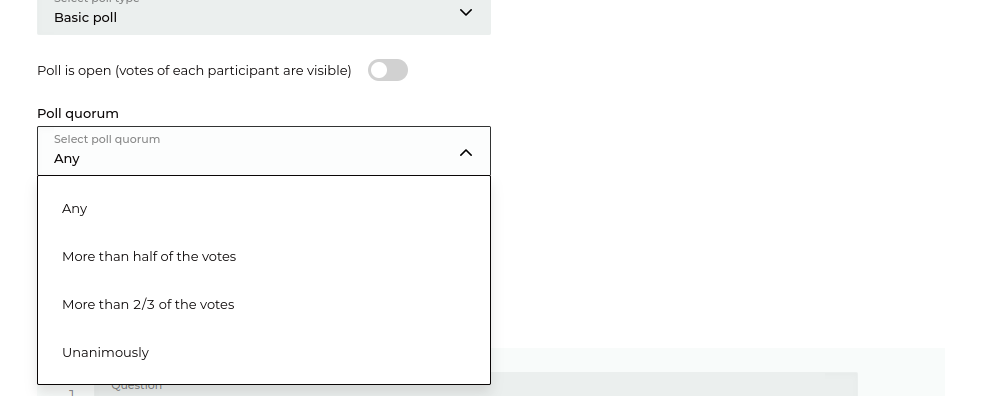
5. Set up a voting quorum:
No required - quorum is disabled, voting is considered valid with any number of voters.
More than half - voting is considered valid when > 50% of participants are present.
More than two-thirds - Voting is considered valid when > 2/3 of the participants are present.
Unanimously - voting is considered valid only if all registered participants are present.
6. Configure the ability to stop voting before it ends. To do this, press the Voting can be stopped before the end date toggle switch. In this case, the administrator can stop voting at any time after it starts, the results are summed up in accordance with the distribution of votes before voting stops. If this option is not selected, voting continues until the specified moment of its end.
Adding questions
Scroll down the page to go to the add question card. To create a new card, click the Add question button.
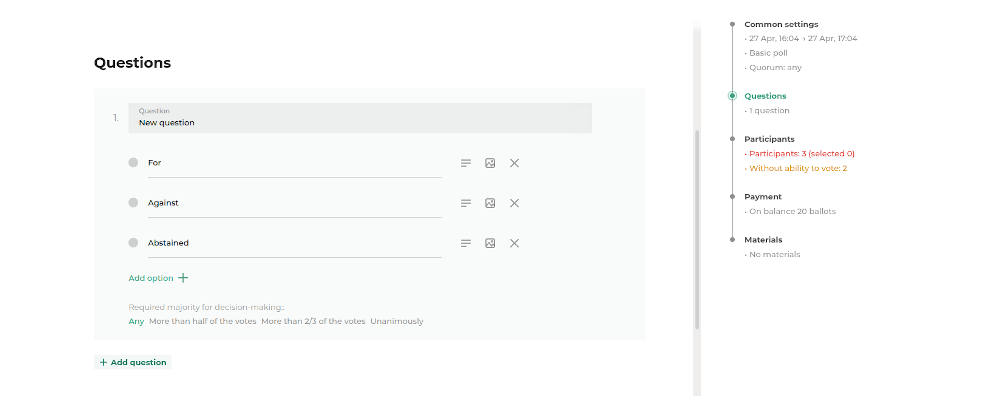
In the question card:
Enter the question text in the Question field;
Add answer choices.
In case you have selected the Multiple Choice option, adjust the number of possible answers to the question.
Set the required majority to decide on the issue. The options in the card are identical to the options for setting up a voting quorum.
Adding participants
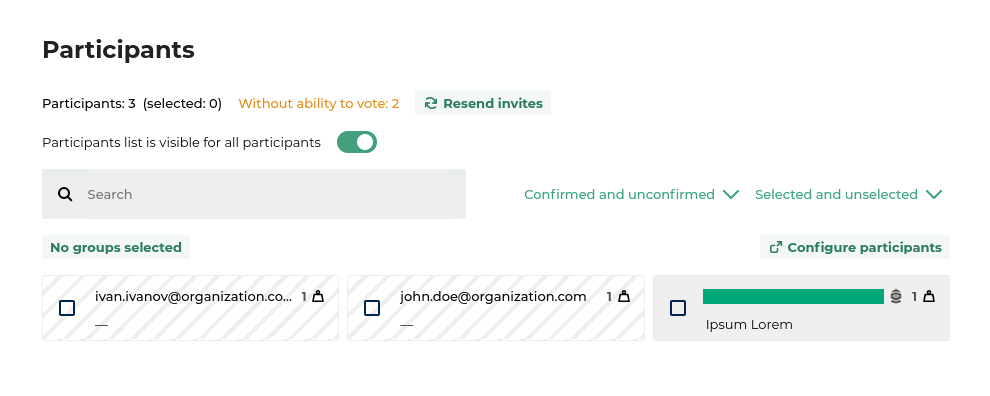
Go to the Participants section. To add individual participants to your vote, check the boxes on their cards. You can search and filter the attendee list using the search bar and section filters.
To add a previously configured group of participants, click on the Groups not selected button and check the box next to the group. The members of the group will be highlighted in the general list.
If a participant you added to the organization has not been registered in the WE.Vote system, his card will be shaded in gray. Participants who have not verified their accounts in the system before the start of the voting will not be able to participate in it (see section: Unconfirmed participants).
To send invitation letters to unconfirmed participants, click the Resend invites button.
Payment

In the Payment section, you will see the current balance of your WE.Vote account, as well as the cost of voting - the number of ballots required to conduct it. If there are not enough ballots in your balance to vote, click the Add ballots button and purchase an additional package of ballots.
Uploading of additional materials
In the Materials section, you can attach explanatory files or additional documents for your vote. Participants will be able to view them when the vote is published. The materials are available for download before the start of the voting, as well as during it.

Publishing voting
To publish your vote, click the Publish button on the right side of the screen. To save the voting preferences you set without publishing it, click Save Draft.
Attention
Publishing is an irreversible action. After publishing, it will be impossible to change voting parameters.
From the drop-down menu, you can Duplicate the vote to create a copy of its draft, as well as Remove it.
Launch of a voting and work with its results
Publish a voting you have created. It will not be possible to change its parameters after publishing.
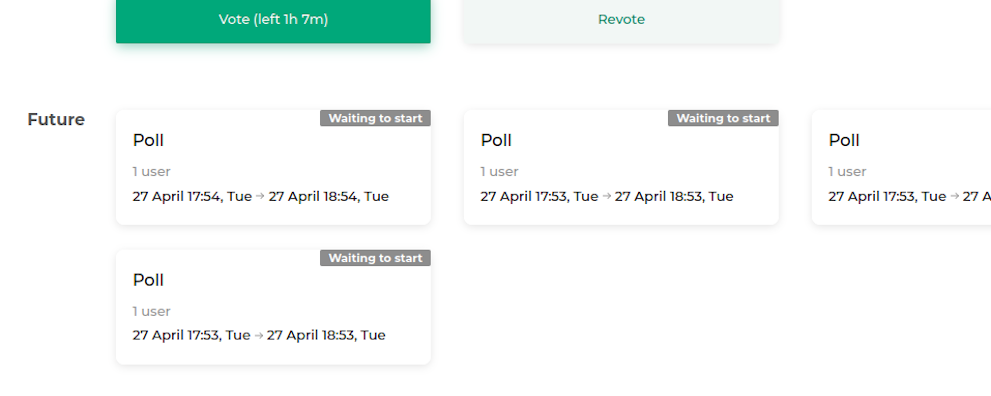
Until the start time, the published voting will be in the Future section on the main service page. Participants will be able to read the questions and additional materials, but will not be able to vote before it starts.
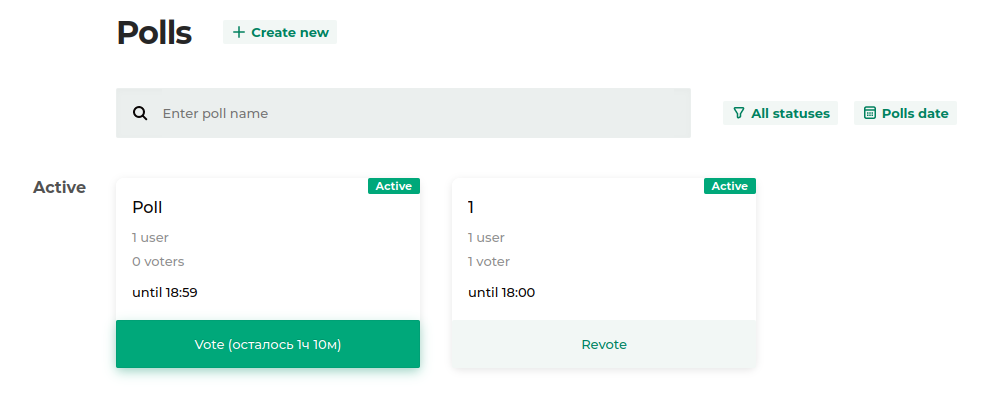
Voting will start automatically at the time you set. Once it starts, it will move to Active on the main service page.
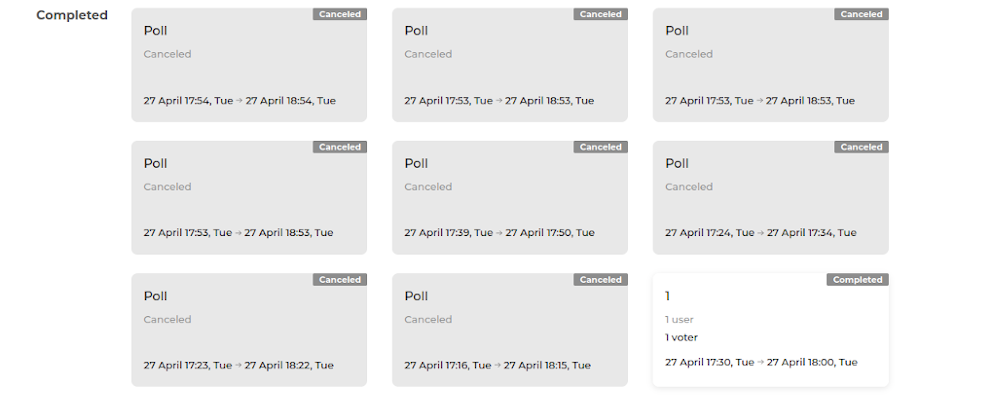
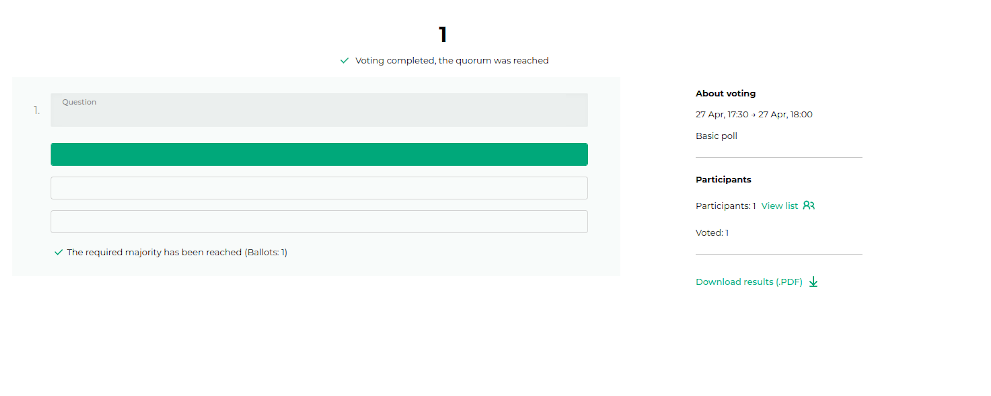
When the vote is complete, it goes to Completed on the main service page.
If voting for any reason will not take place (lack of quorum, absence of participants or service failure), the vote is canceled and also goes to Completed with the reason for cancellation.
By clicking on the completed voting card, you can view your answer choices and the parameters of the vote and download a PDF report of the vote. If open voting is selected, you can also view the answers of all voters.
As an Administrator, you can duplicate a vote to restart it.